Installation of the Electronics for the GT500 twin blade TB
ATTN: Before starting this installation it is very important that all the parts are cooled down to room temperature to ensure a proper relationship between the motor gear and the TB gear when the screws are tightened.This is vital to ensure proper TB opperation.
Tools needed 1/4" drive ratchet, 6" extension, 8mm socket.T-20 Torx bit, needle nose pliers.
(1)After removing the CAI, filter and intake tube. Unplug the TPS sensor plug that is attached to the TPS sensor on the throttle body. (This sensor is located on the left side of the TB.) Pull back the red lock clip on plug, squeeze release after red lock is pulled back to unplug wire harness)Next remove plug/harness attached to motor assembly located on the right side of the TB(red clip needs to be slid back before plug can be release).Squeeze release and remove plug/harness from motor assembly. Next remove the 4 attaching bolts that secure the TB to the plenum. (use 8mm socket) This will remove the throttle body from the plenum.
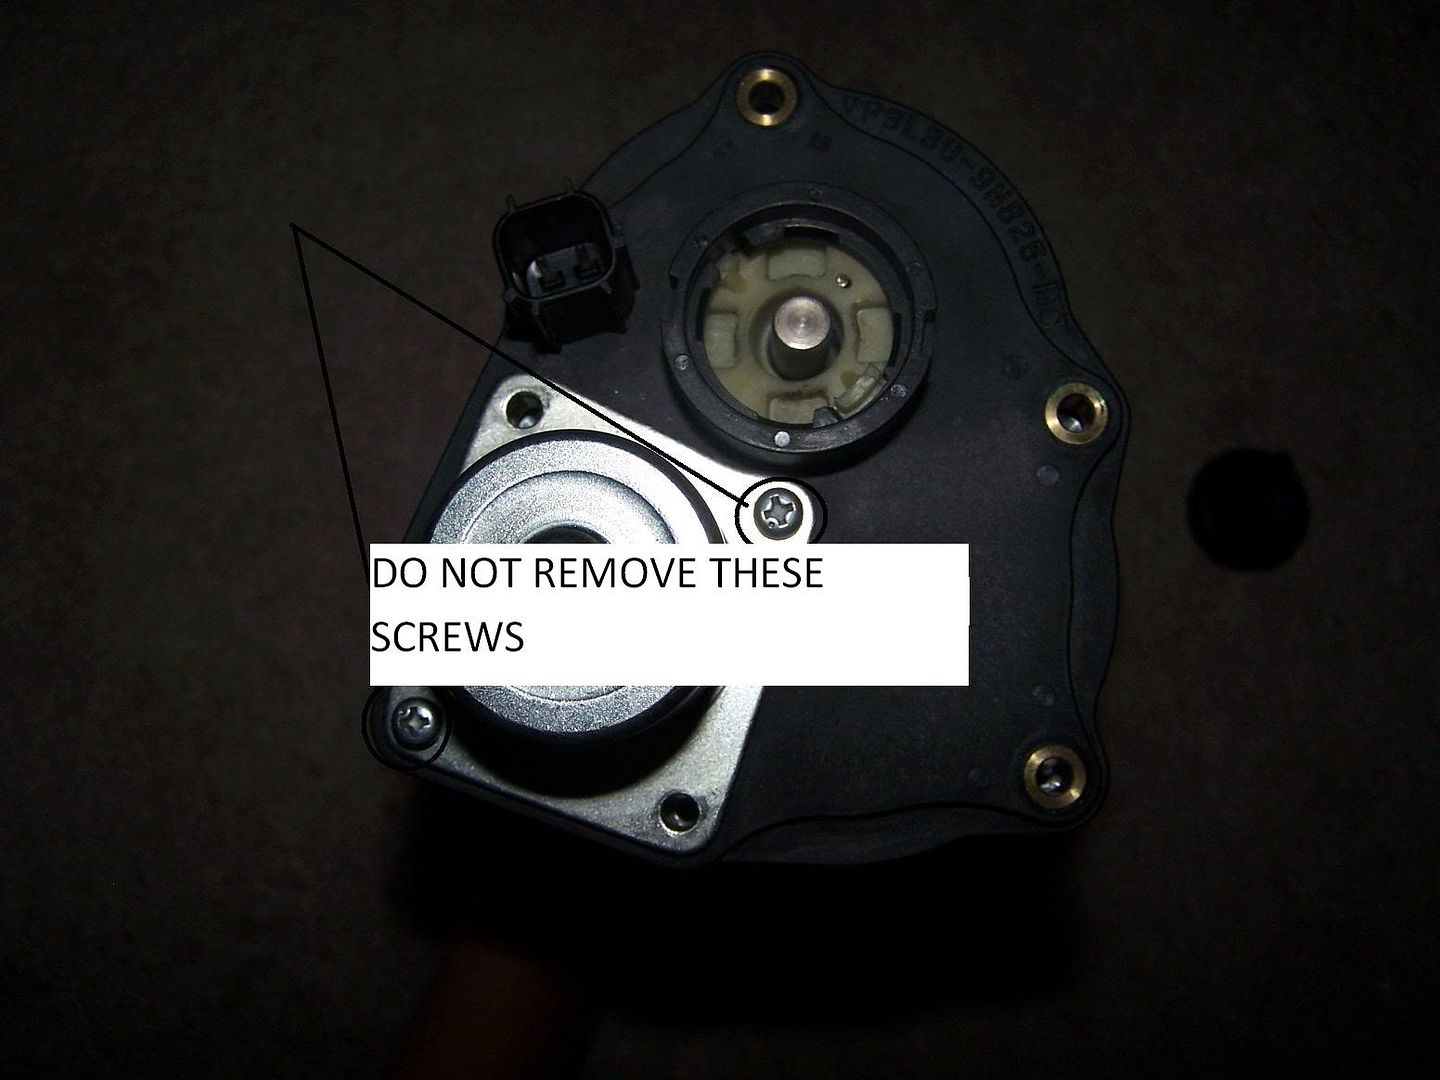
(2)Using the throttle body that was just removed, remove the 5 torx screws from Motor Assembly plate. (Motor assembly plate is on the right side of the TB)
Note: Do not remove the 2 ea.phillips screws attached on the motor assembly.
Note: When removing motor assembly plate from old throttle body. Return spring and white plastic cap may come out with motor assembly or stay connected to gear inside throttle body. Either way be careful not to lose it.
Note: If still in motor assembly, remove return spring and white plastic cap from the inner side of motor assembly. If still connected to gear, just unhook return spring and white plastic cap.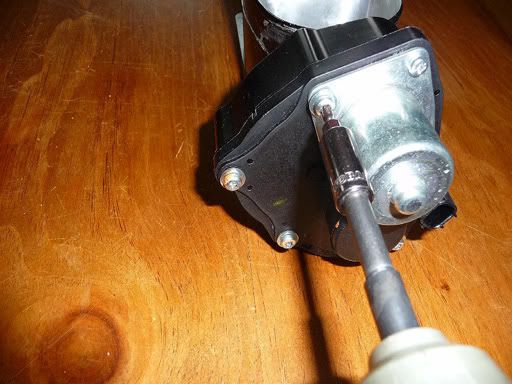
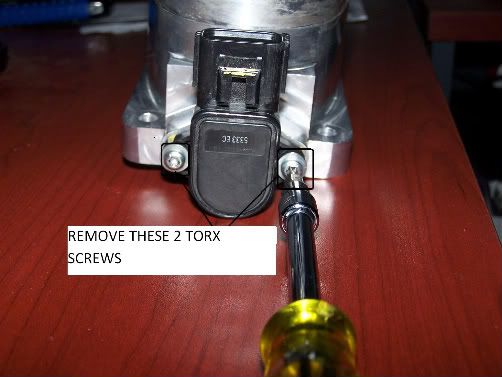
(3)Using the throttle body that was removed, remove the TPS sensor located on the left side of the TB.The TPS sensor has 2 torx headed screws that need to be taken out.(remove screws and remove TPS sensor)
(4) Using the TPS sensor that was just removed, align the TPS sensor with the flats on the throttle shaft while the throttle plates are in the closed position. Then attach the TPS to the new TB using the existing 2 torx screws (removed in step 3).
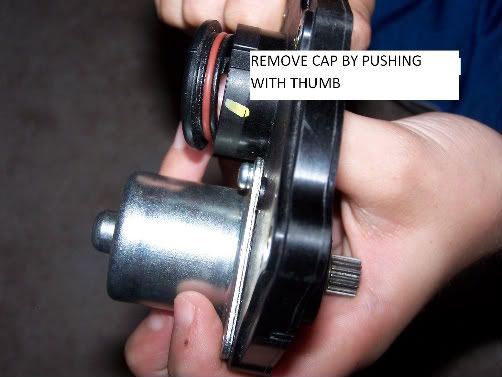
(5)Remove the black cap from the motor assemble plate that covers the TB return spring by pushing with your finger/dumb.
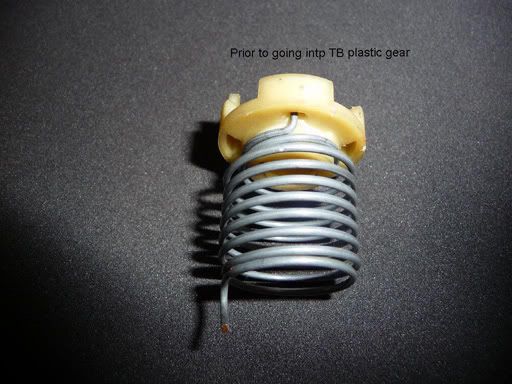
(6)Install the return spring make sure the spring straight end goes into the hole in the white plastic cap, push the spring with a twisting motion on till it bottoms against the white plastic cap.
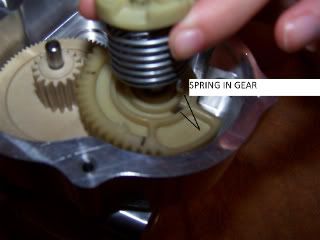
(7)The curved spring end goes into the plastic gear on the new TB. Hold the TB upright with the spring and white cap on the TB plastic gear.

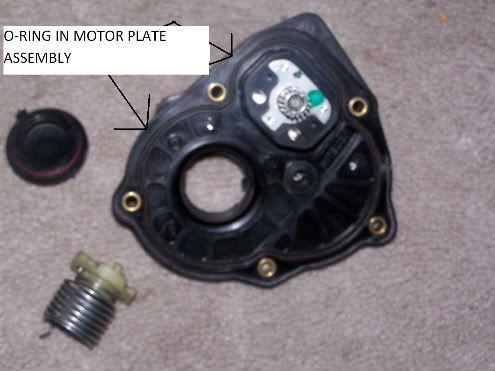
(8)Apply a small drop of BLUE Locktite to each screw then install the motor housing onto the TB with the existing screws 5 torx screws (removed in step 2). Note: Make sure O-ring is installed in motor assembly plate before installing it.
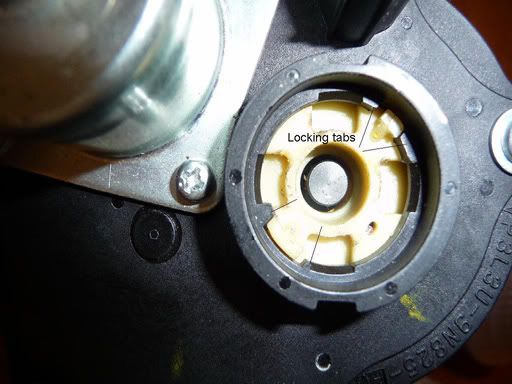
(9)Using the needle nose pliers rotate the plastic approximately 180 degrees counter clockwise till it aligns with the landings on the black plastic motor housing. (this will put spring pressure on the throttle plates and cause them to close)
(10) Still using the needle nose pliers pull upwards slightly locking it in place. Install the black plastic cap (removed in step 5) it only goes on one way.
(11)Install the new TB, reverse the procedure used to remove the TB, reinstall the intake tube assembly.


 Reply With Quote