


My C&R Radiator installation & findings
Installation of new double capacity Radiator
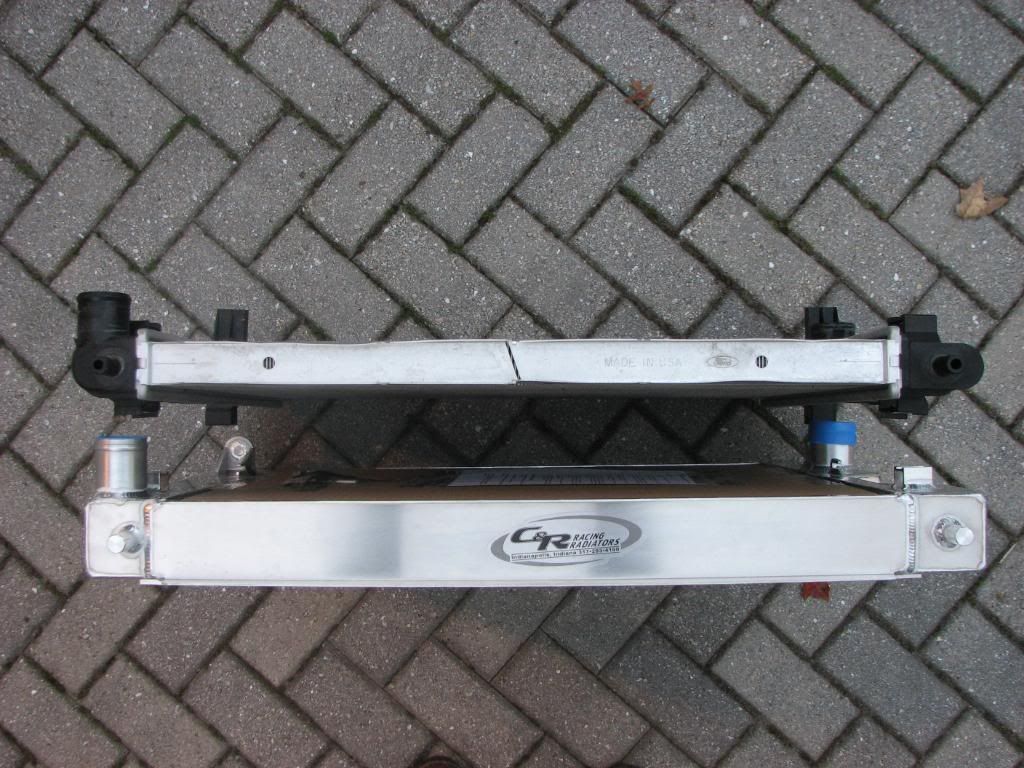
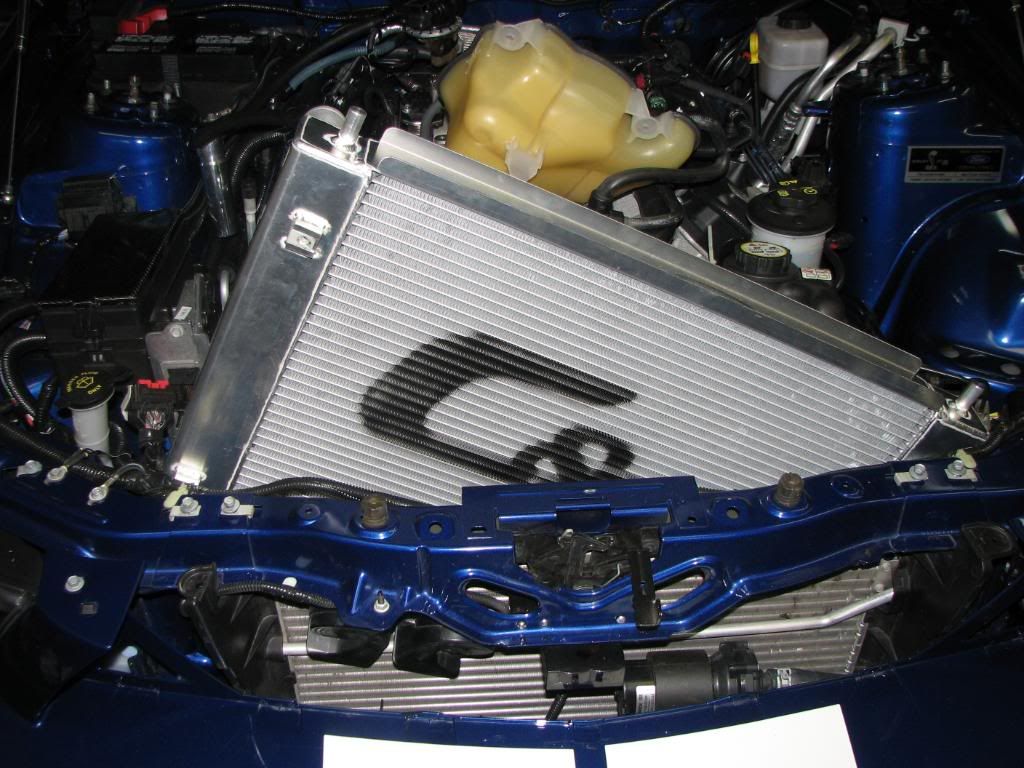
New C&R radiator arrives
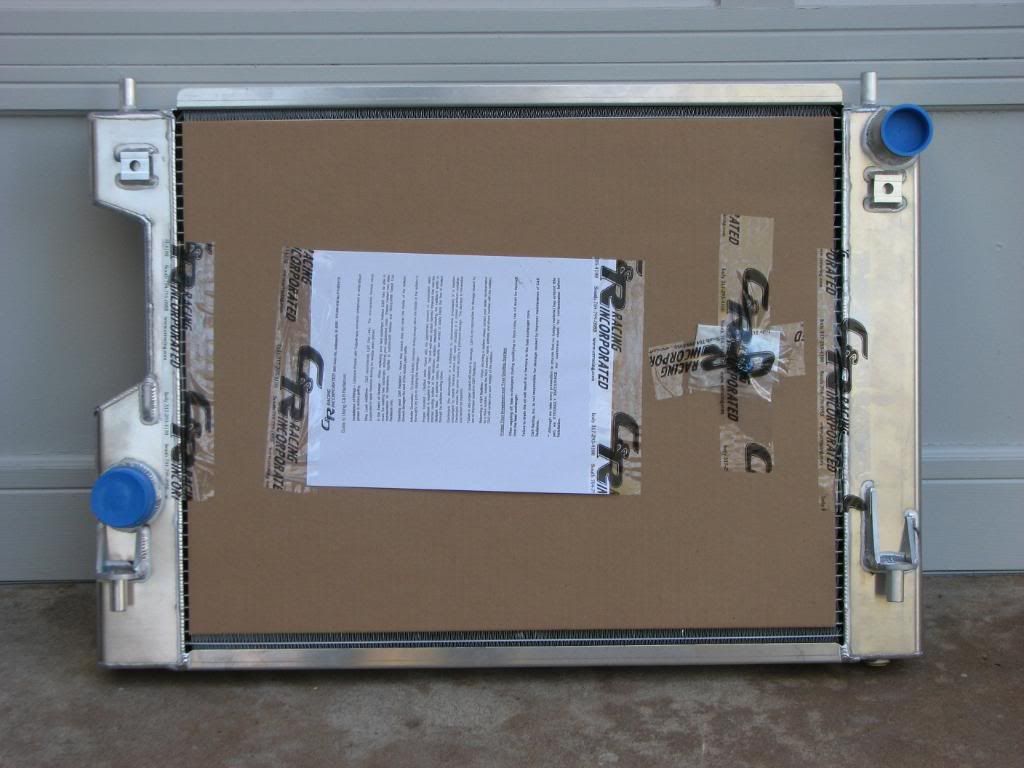
Rear view
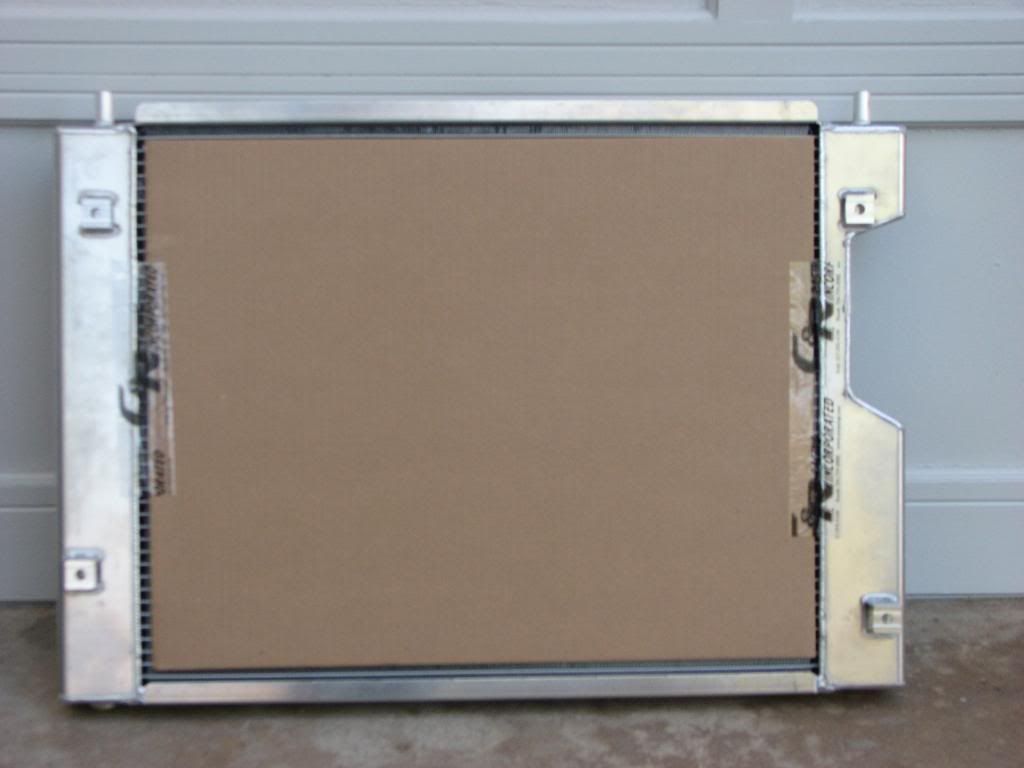
Front View
.
.
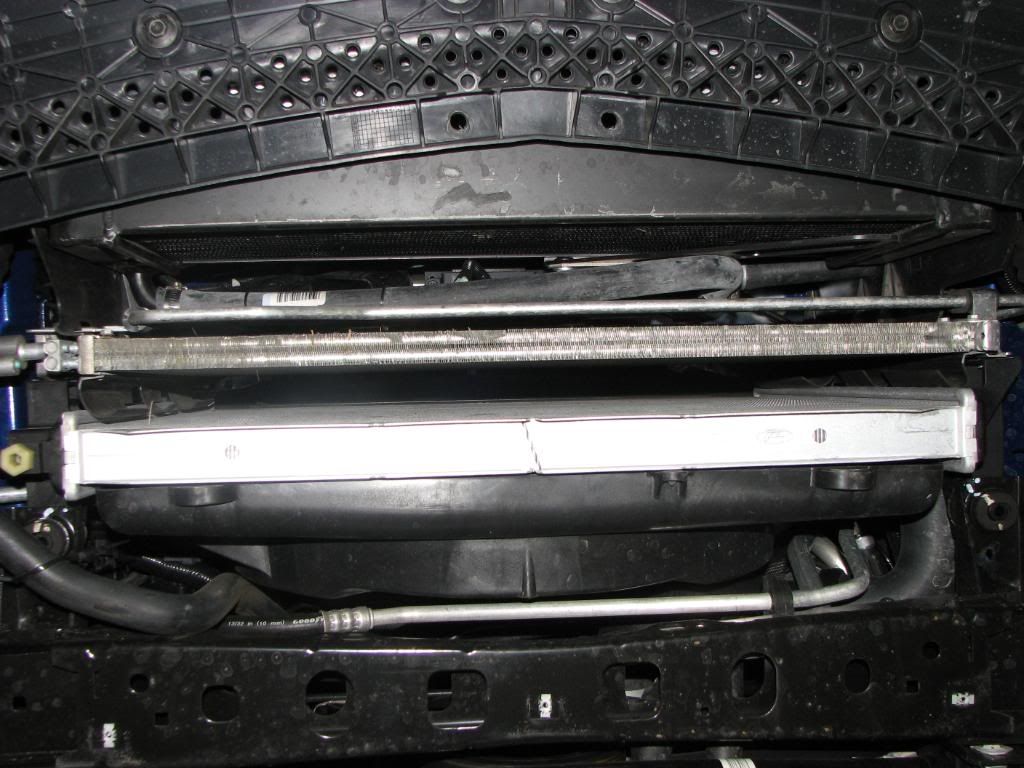
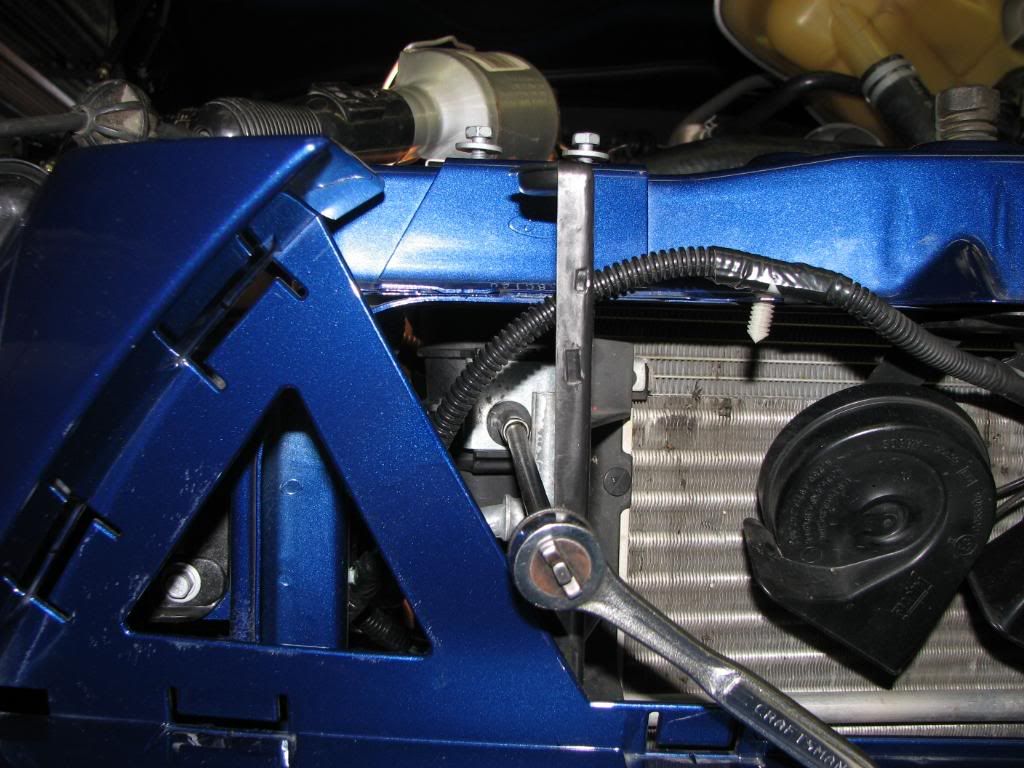
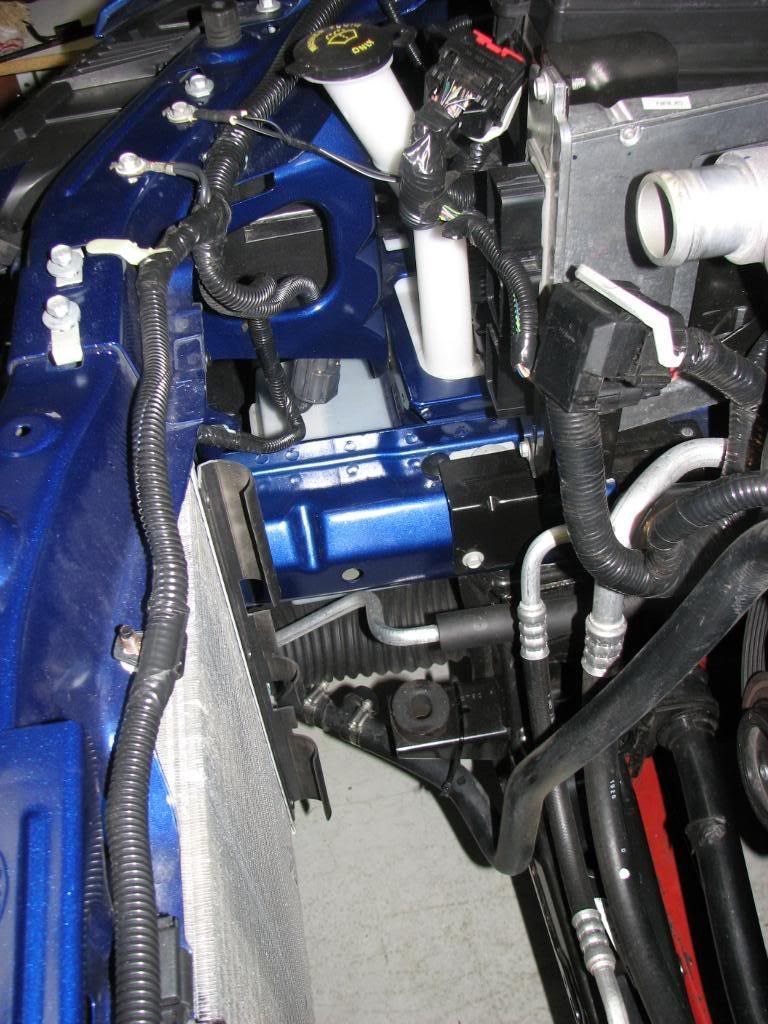
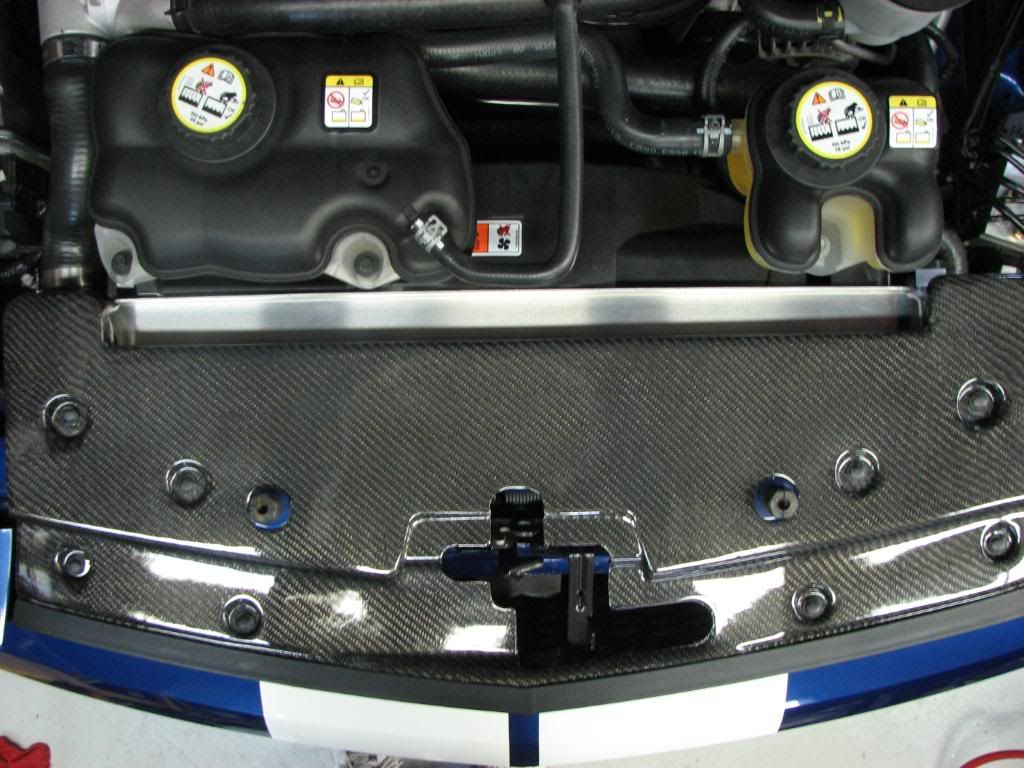
Removed deflector from underneath exposing HE, Condenser, OEM Radiator and Fan /shroud unit
.
.
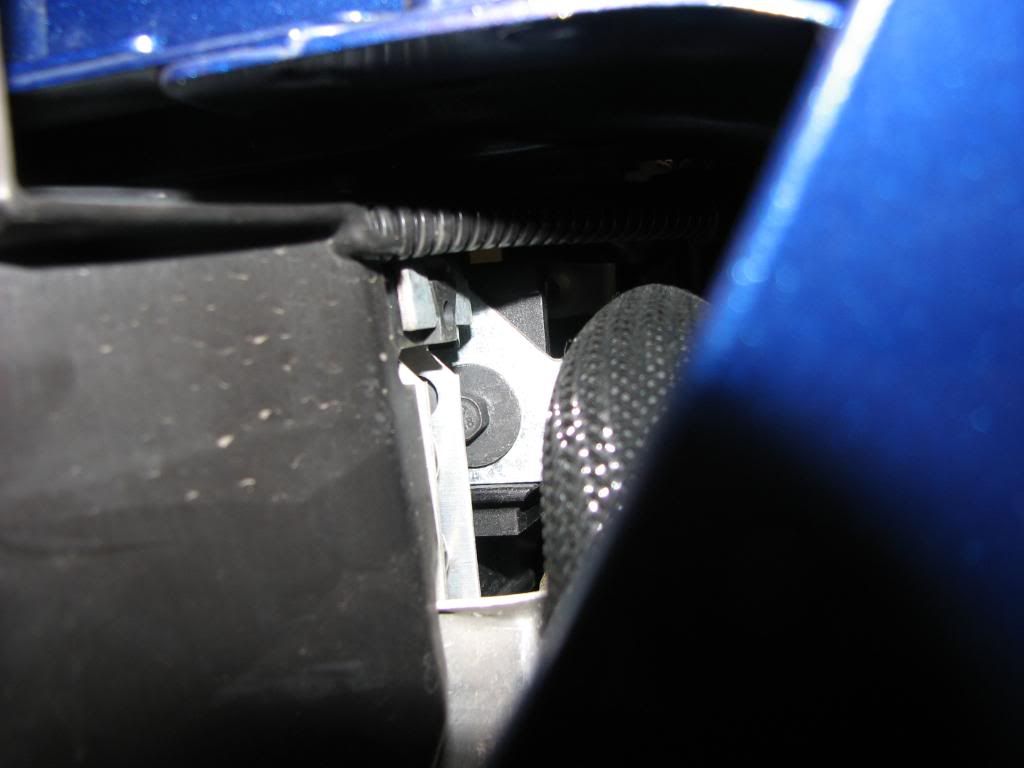
Connected drain hose to drain
.
.
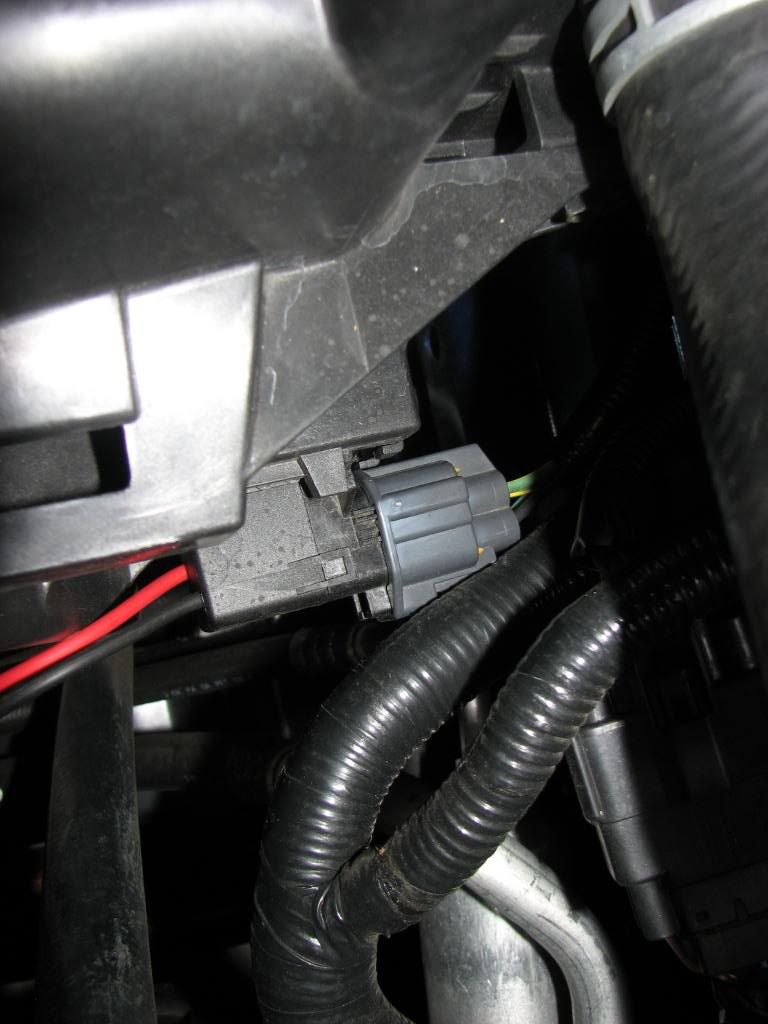
After removing radiator cover and Front upper grille I disconnected Fan wire connector
.
.
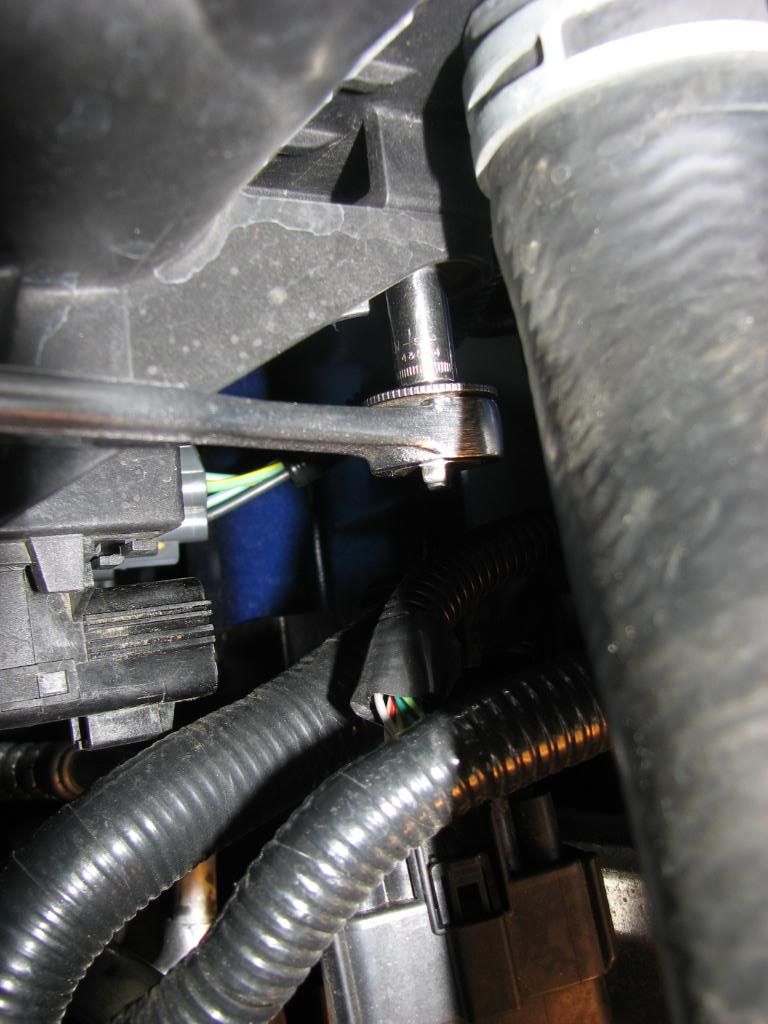
Removed (2) upper bolts holding Fan to Radiator then removed fan assembly
.
.
Removed (4) Condenser to Radiator bolts (2 each side)
.
.
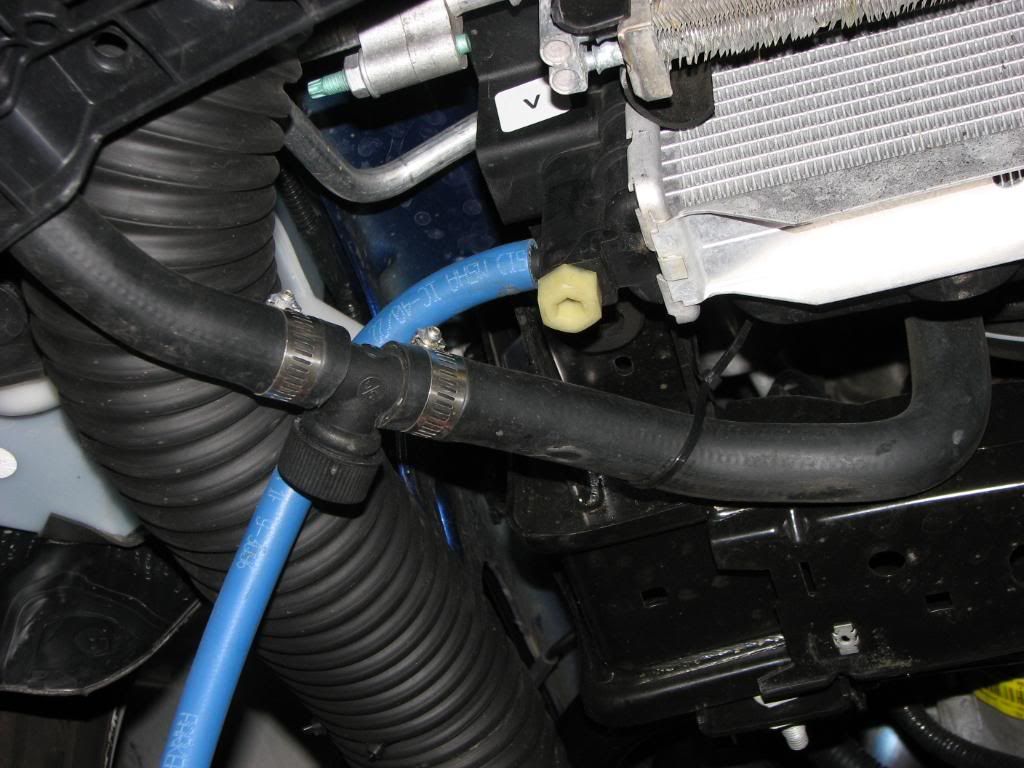
After disconnecting the upper and lower radiator hoses I removed radiator
.
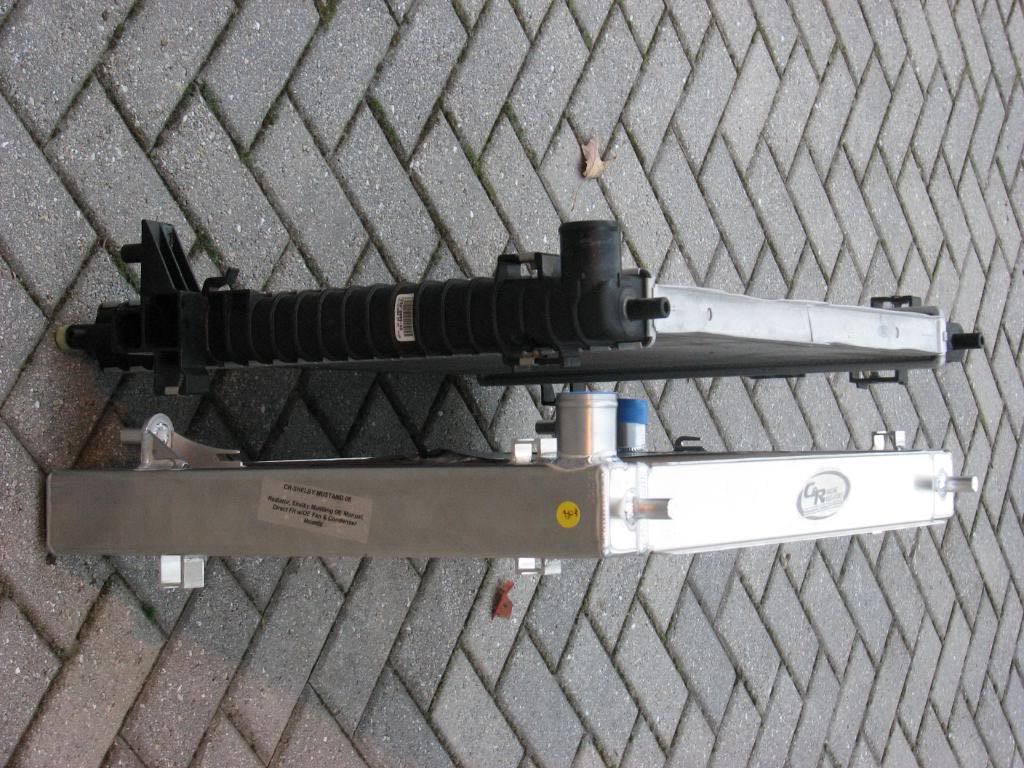
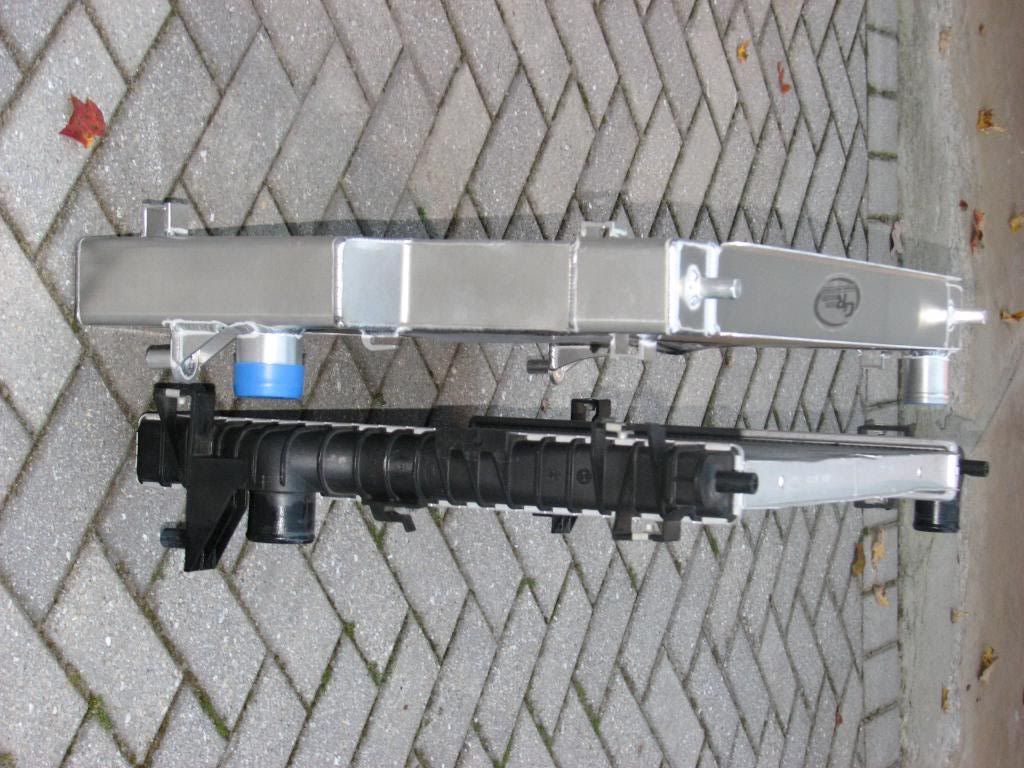
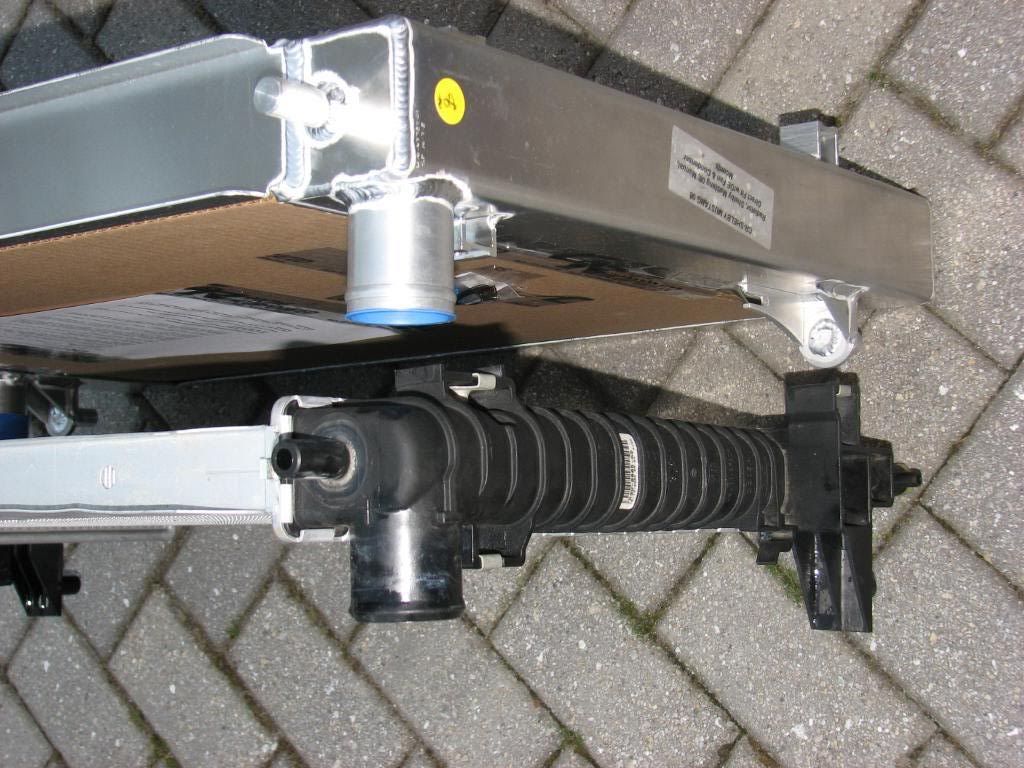
Side by side comparisons of OEM and C&R Radiators
I weighed both dry The new C&R weighs 4 lbs more than the OEM does
I also filled both to determine capacitys
The OEM held approx .75 gal of fluid while the C&R held 1.5 Gal effectively doubling the capacity of the OEM radiator.Here you can see the visual differences
The new radiator filled with water weighs a total of only 10 lbs more over all than the OEM. Not too bad considering the added cooling benefits
.
.
.
.
Remove and save the nut retaining clips for reuse
.
.
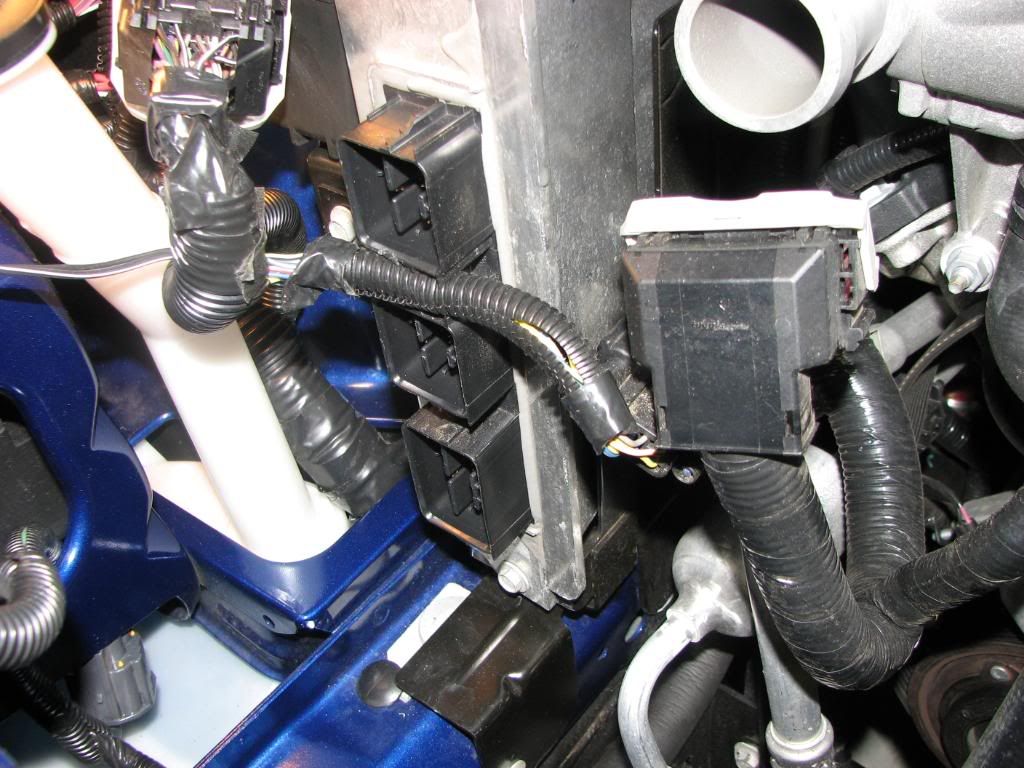
Disconnect ECM wire connectors to provide better clearance for installation of new rad.
.
.
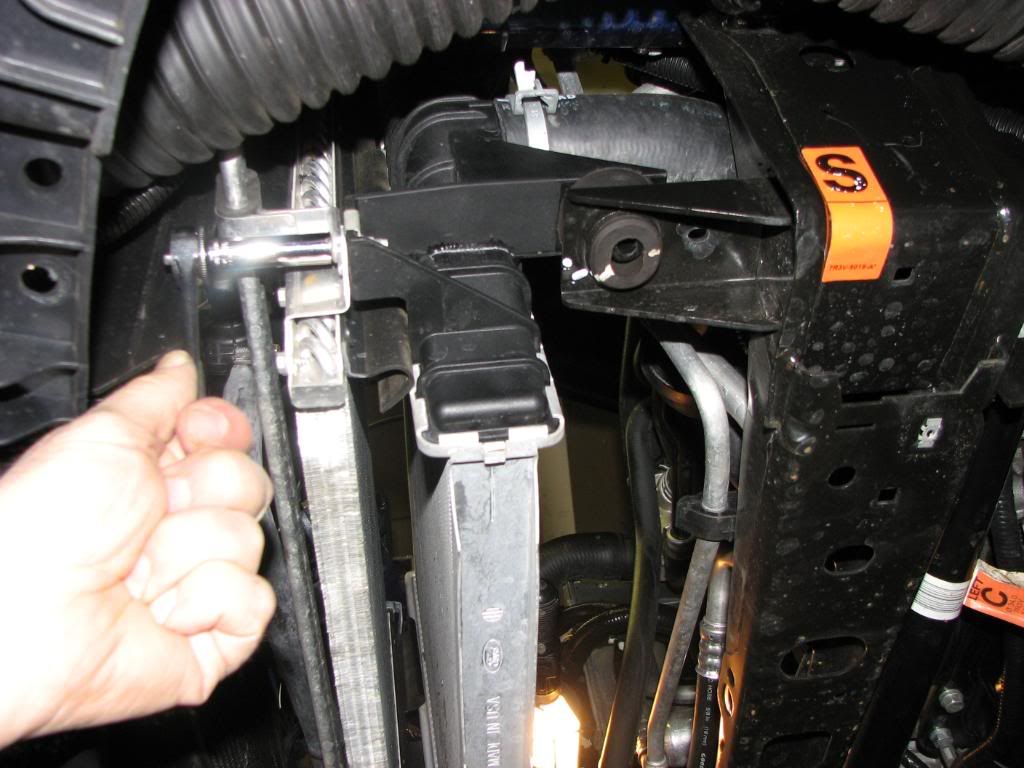
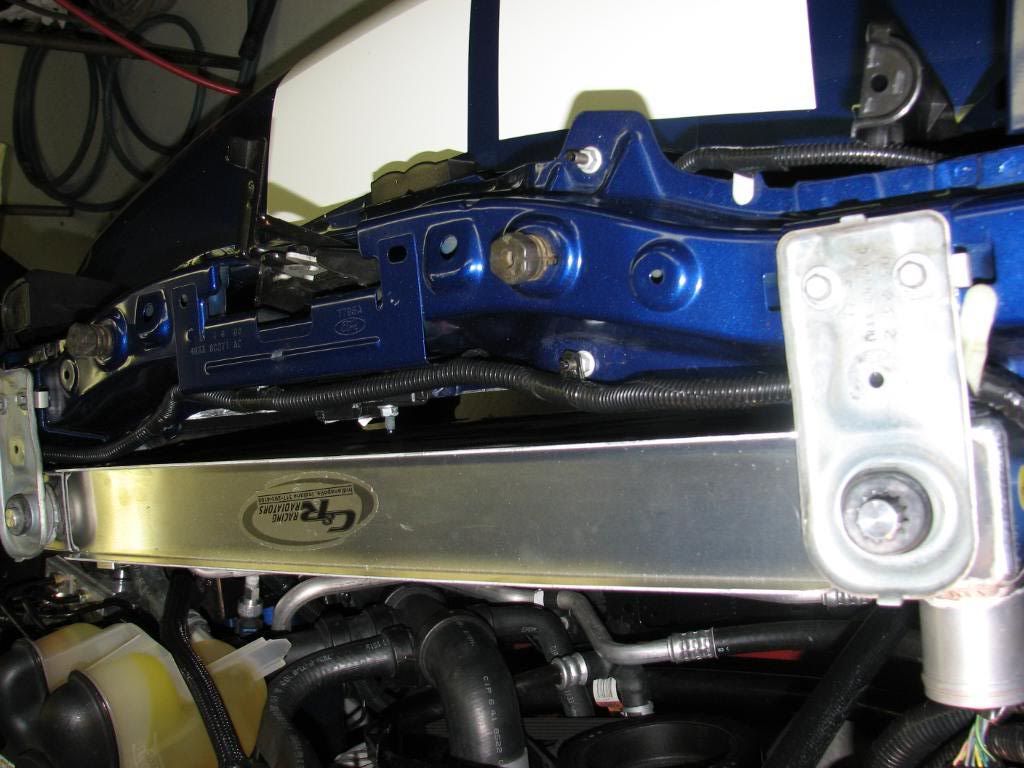
Install new Radiator on angle at first ,down towards drivers side to clear AC lines then level out.
.
.
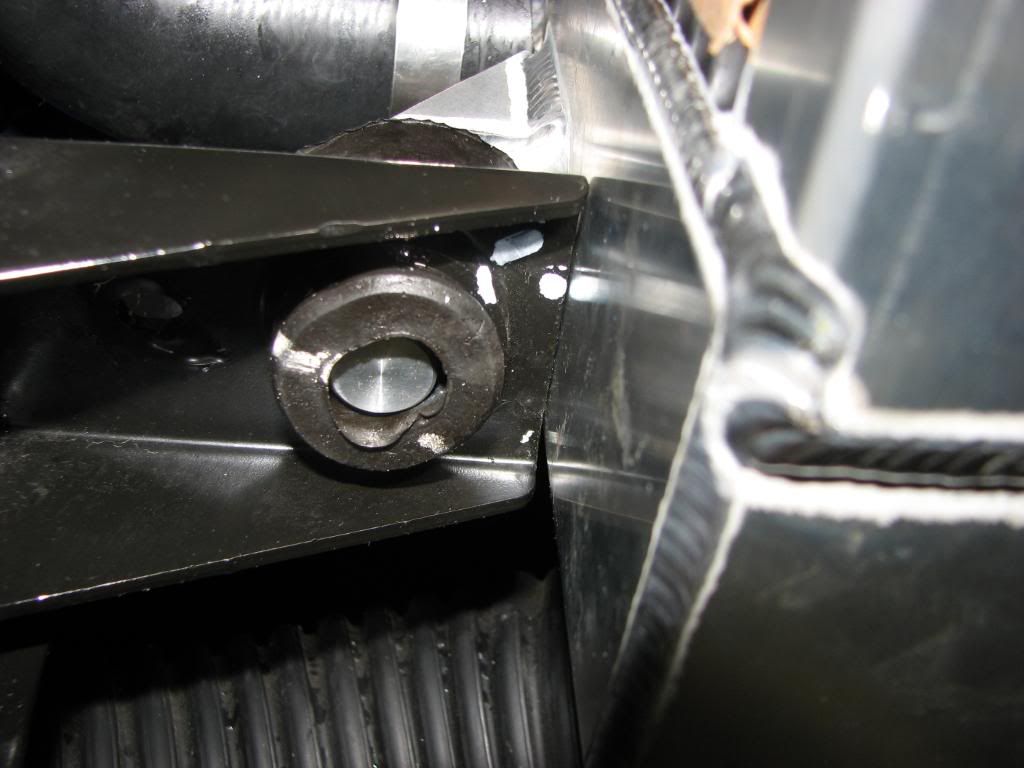
Be sure to fit into rubber mounts at bottom.
.
.
One note of caution : the two upper radiator to condenser front OEM bolts had to be cut shorter to prevent them from going through the radiator tank when tightening them.
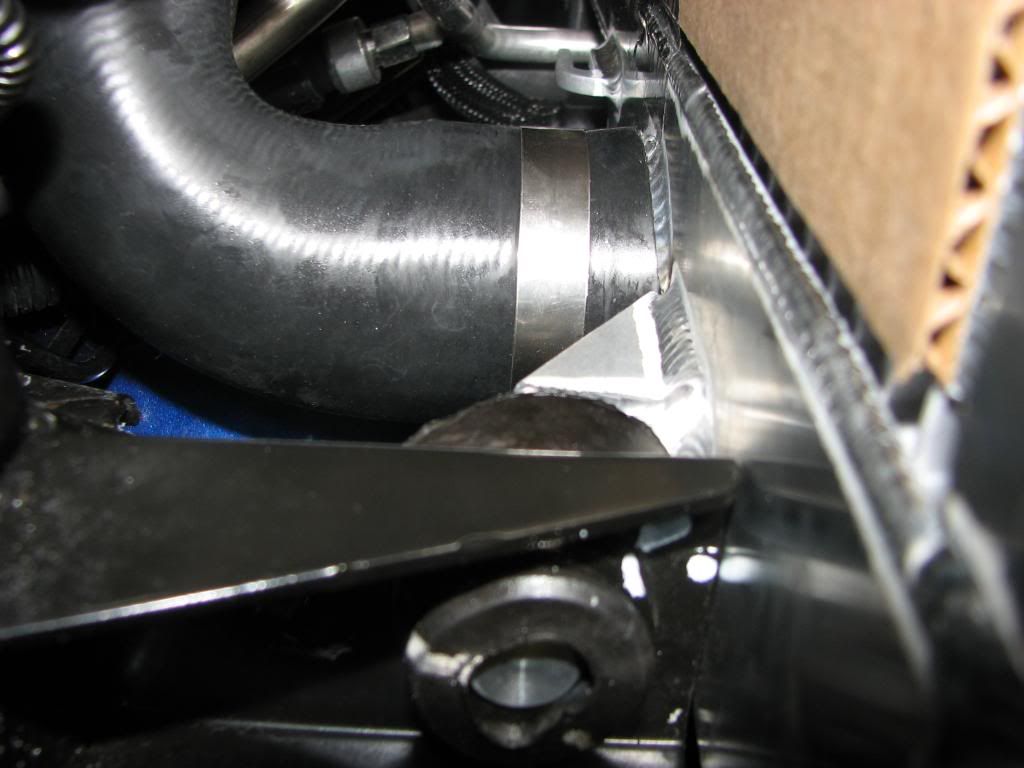
Next cut off approx 1 from lower and upper hoses and reconnect lower hose using new SS clamp.
.
.
.
After cleaning everything up I painted the cut edges for protection.
.
.
.
.


 Reply With Quote


 ,
, ....
....

